How to Make an AI Zombie Video from Two Photos
How to make an AI zombie video from two photos: choosing the pair, making the four-shot structure read as cinematic, and post-processing for TikTok or Reels.
 AI Zombie Video Team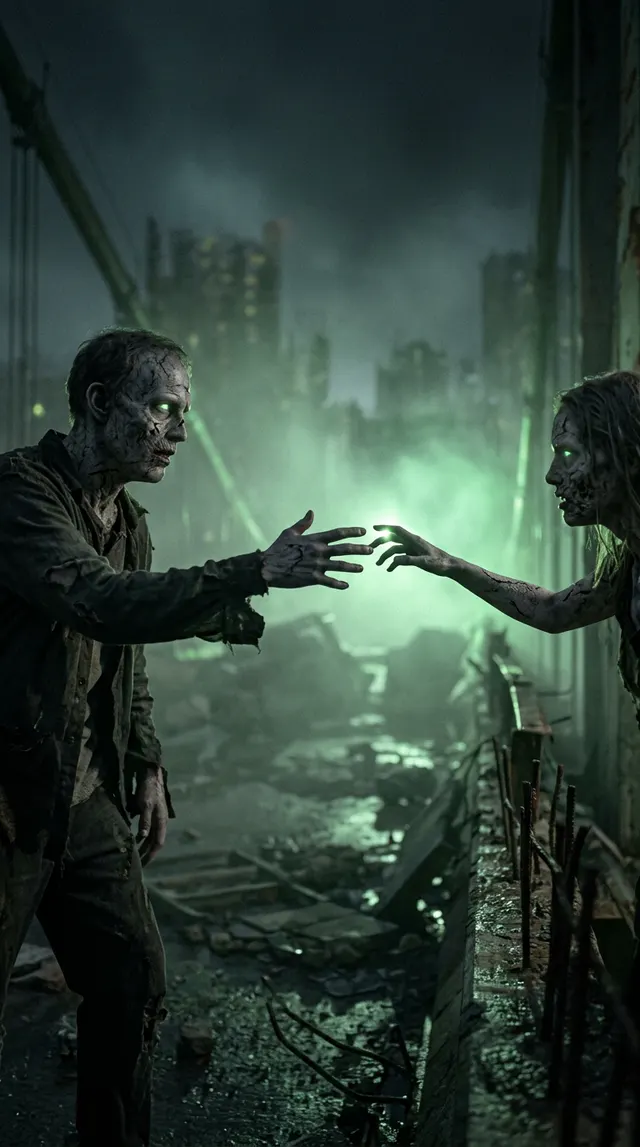
An AI zombie video is a short film built from two photographs and a fixed four-shot structure: the first photo supplies the survivor, the second supplies the one who has turned. The scene template decides what happens to them, so the pair you choose shapes the result more than any setting you will touch.
Choose the pair before you choose anything else
Photo one becomes the survivor and photo two the one who has turned: the model is handed both as references and has to keep those two identities recognisable through all four shots. Match the two pictures on five points:
- Same framing. Same distance, same height in both shots. When the faces are roughly the same size in frame, the film stays on the same two people instead of cutting between two compositions.
- Same light. Two photos from the same hour of the same day beat one sunny photo and one dim indoor photo. A mismatch makes the model relight the scene mid-shot, and that is where faces warp.
- Faces clearly visible. Front-facing, unobstructed, in focus, eyes open. Sunglasses, hands over the face, and motion blur all leave the model less to work with.
- A quiet background. Cluttered rooms and crowds compete with the subjects, and detail that cannot be tracked turns into warping.
- Comparable resolution and shape. Two sharp photos in a similar crop give the cleanest result, so shoot vertical if the film is going to a vertical feed.
Order matters as much as matching: photo one is cast as the survivor, photo two as the one who has turned. Swap them and the gun ends up in the wrong hands, so give the first slot the clearest, most composed face — it is the one behind the raised handgun, crying — and give the second slot the picture that can carry a colder read, because the extreme close-up is built on it.
When your two photos disagree
Perfect pairs are rare. Crop both to a tighter framing, chest up, and favour the closest head size and lighting over the two most dramatic shots.
Pick a story mode, not a prompt
There is no prompt box, and that is deliberate. AI Zombie Video applies a scene template on the server for each of the four story modes, so the video model receives tuned cinematic direction rather than whatever you happened to type. The modes are Zombie Couple, Zombie Pet, Zombie Friends, and Halloween Party, and all four ride the same shot grammar: the survivor cannot fire, opens their arms, and the leap match-cuts into an embrace. Each carries its own pacing, colour grade, and score.
Every film comes out at 15 seconds, 480p, with audio generated alongside the picture and no watermark on the file you download. One film costs 20 credits; packs are one-time purchases with no subscription, and credits do not expire. Browse the examples wall first — seeing which variant matches your pair beats reasoning about it.
What makes the four-shot structure read as cinematic
The difference between a meme and a film is restraint.
- One decision, not a fight. The gun lowering and falling away is the turn of the story. Two characters grappling reads as a glitch; one character choosing reads as direction.
- One environmental swap. The dark cabin cutting to an open wheat field at sunset — a single, unmistakable signal that the world has changed.
- One physical tell. Pale grey skin, cloudy eyes, bared teeth in the close-up. The less gore you ask for, the more the audience believes it is still the person they recognised.
- A grade per half, not one filter. Cold and desaturated for the first ten seconds, golden and luminous for the last five — the contrast is what makes the embrace land.
- Sound used, not covered. The score arrives with the picture and the reveal is timed to it.
Models in this space handle audio and endpoints natively. ByteDance's Seedance page documents a selectable 4 to 15 second range, native audio, and a first/last-frame input mode. Google's Veo documentation describes clips of around eight seconds with native audio at 720p, 1080p, or 4K, first and last frame input, and both 16:9 and 9:16.
Render, then post-process for the feed
A film takes about three minutes. You can close the tab — the render finishes either way — and a failed render returns its credits automatically. Once the file is yours, treat it as raw footage:
- Trim the head. Feed audiences decide fast, so cut anything before the first visible movement.
- End on a face. The last five seconds are the embrace in the wheat field, and that is what a replay keeps showing — so pick a pair whose faces you can stand looking at twice.
- Test the audio both ways. A trending track layered over the clip often lifts a post, but start from the generated score.
- Keep text clear of the interface. Captions belong in the middle band, away from each feed's buttons and description.
- Do not upscale. Re-encoding 480p to a bigger number adds bytes, not detail.
Start at the generator: uploading both photos and picking a story needs no account, only rendering does, and files up to 10 MB are accepted. For more than one film, the credit packs go from a single film up to sixty, and the per-film price falls to as low as $2.10 at the top. The three-film pack alone is enough to run a mode twice and keep the better take.